Introduction
The admin panel is the tool to configure the settings of entree to fit your organisation. Here you can add your own logo to entree, change the background and text colouring. It is also the place where you can choose what (type of) articles you wish to show your colleagues in feed. Or, what widgets you wish to use on the home screen. In this article we will share the set up of the admin panel, the options it offers and where to find these.
The admin panel is not available in the free application. Upgrade the application to business or enterprise for full functionality of all features including the admin panel, shared organisational bookmarks and more.
Have a look at the video below, or scroll down to the rest of the article underneath the video to learn more.
Entree has some adjustable settings that apply to all screens and some that are screen specific. With this in mind the admin panel offers the following sections:
- account for organisational settings such as language, location, etc;
- branding to add your company logo, change background and colours;
- general configuration to manage translations, page load order and the look and feel;
- home configuration to manage what widgets will be visible on home and in what order, and to adjust weather and clock settings;
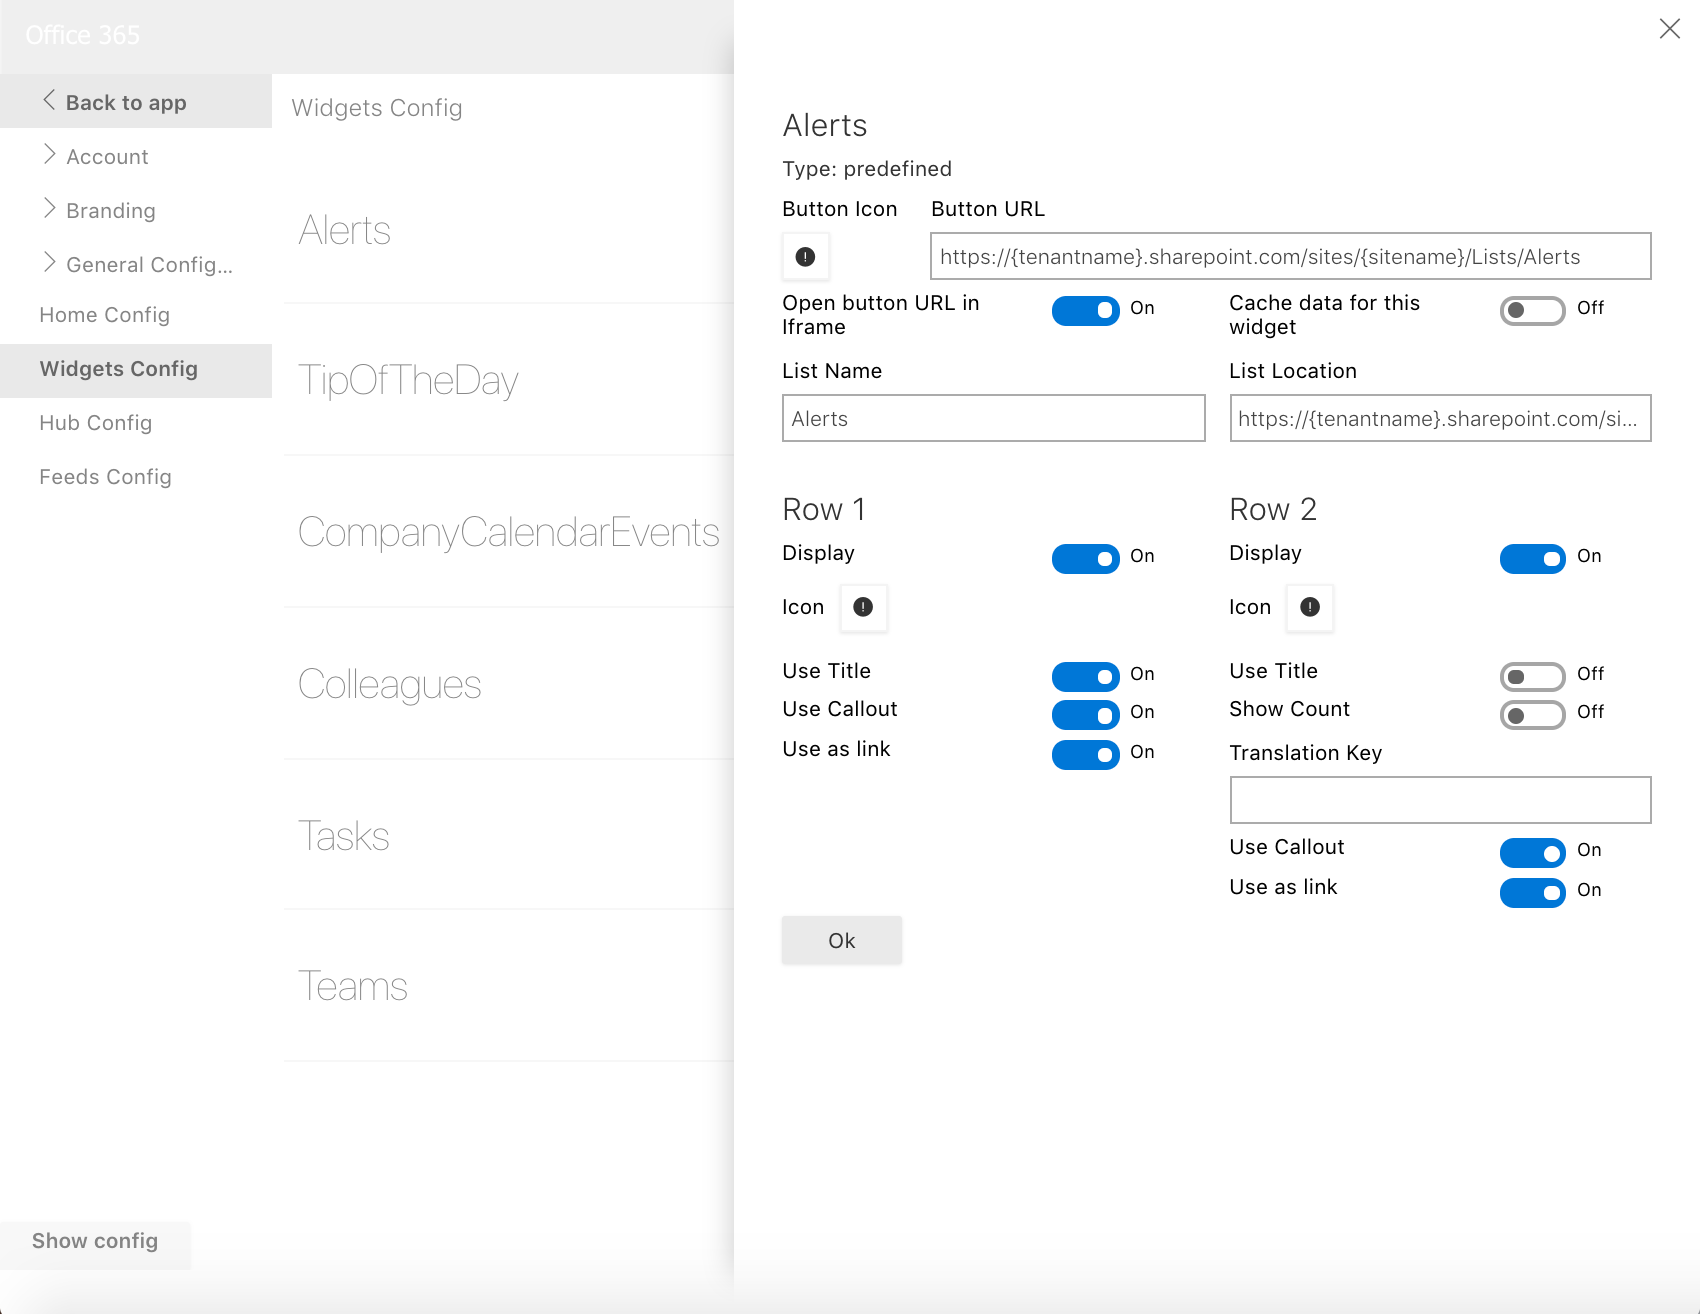
- widgets configurations a special section to manage what the widgets will show;
- hub configuration here organisation specific category filters can be added, as well as additional hub sources;
- feeds configuration set what rss feed you wish to publish here and potentially add a specific yammer feed.
To start the configuration, go the admin panel. The easiest way to go to the admin panel, is to go to the hub and start typing 'meetroo entree admin panel' (or any of these 4 words). The link will show up in the hub. Click on the tile/card to go to the admin panel. The admin panel will open in a new tab in your browser.
In the top left of the admin panel you will notice "back to app", click here to go back to the application once you made the adjustment(s) you set out to do.
Also visible is the orange button in the right bottom, 'save settings'. After you have adjust a setting you will have the option to save it with 'ok', and move on to the next adjustment. For instance you can add a new logo and background. And maybe you adjust the order of the widgets. Then hit 'save settings' to make (all) the adjustments visible in the application. The app will save and refresh itself, after which all changes will be visible to all users.
Account
Account is rather basic. Here one can read and adjust basic organisational settings such as language, location, etc. Click on the respective setting to view and adjust if desirable.

Branding
Adjust the look and feel of entree to match the company brand identity. Here you can add your company logo, change the application background image and text/tile colouring. To keep the application light and flexible we do not upload pictures into the application, but link to pictures. Make sure to link to pictures without view restrictions, or make them part of the entree site collection.

general configuration
General configuration is about those things that are general to all influence the entire application. Here you can adjust the page load order and the look and feel. This includes te loading order of the application screens and the use of a see-through Office365 navigation bar. Further you can choose to show tooltips in the application, which are short explanations of the various items visible in the application.
This is also the place to manage translations. With translations you can adjust the visible labels for existing or newly added items and links within the application. Read more about labels and translations in the related article.

home configuration
Here you can manage the look and feel of the home screen of the application. You can choose which components and what widgets will be visible on home and in what order. Further you can adjust the links the various components refer to.

With regard to widgets it it important to keep in mind that the widgets are configured on 2 locations; on home configuration the widgets are turned on and off; and via widgets configurations you adjust what information the widgets actually show.
widgets configurations
Per widget it is possible to choose what content the widget will show on home, and how. Choices can be on the content, the way to handle the content and in what way to to show data.
hub configuration
Adjust the hub settings to fit the organisational wishes to increase accessibility of useful items (links/applications). Choose to between the tile or card view and whether you wish to show the AddLink button. Add additional site queries, hub sources and collections to be shown as tiles/cards in the hub. Additionally tailor the category filters to match internal departments/processes to better label (and thereby access/fins) items in the hub.
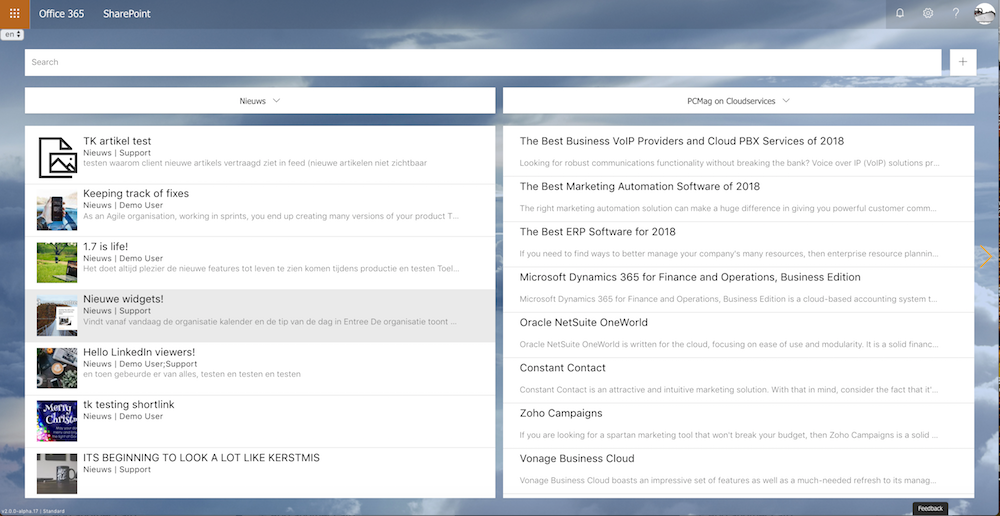
feeds configuration
Choose what type of feed you wish to publish; internal news, Yammer and/or RSS feed. Choose what RSS feed you wish to show here.
When you add additional rss resources, also add translations for this rss feed so that the right titles are shown in the feed menu.
Was this article helpful?
That’s Great!
Thank you for your feedback
Sorry! We couldn't be helpful
Thank you for your feedback
Feedback sent
We appreciate your effort and will try to fix the article